Inviting a payee to Corpay Cross-Border Connections
To create connections with your payees, first send them an invitation from your Corpay Cross-Border account. The payee will receive an email with a link to the Connections sign up page where they create their account and enter their contact and banking details. The link in the email is valid for 30 days.
Important: Before you invite payees to connect with you, we recommend that you add your logo and signature to the email template. Users with the required permissions, including non-admin users can create and edit email templates. Non-admin users can access the page via the link on the page. Please contact your account representative to enable the invitation template link. For more information, see Creating custom email templates.
To invite a single payee to Corpay Cross-Border Connections
- In the toolbar, under , click
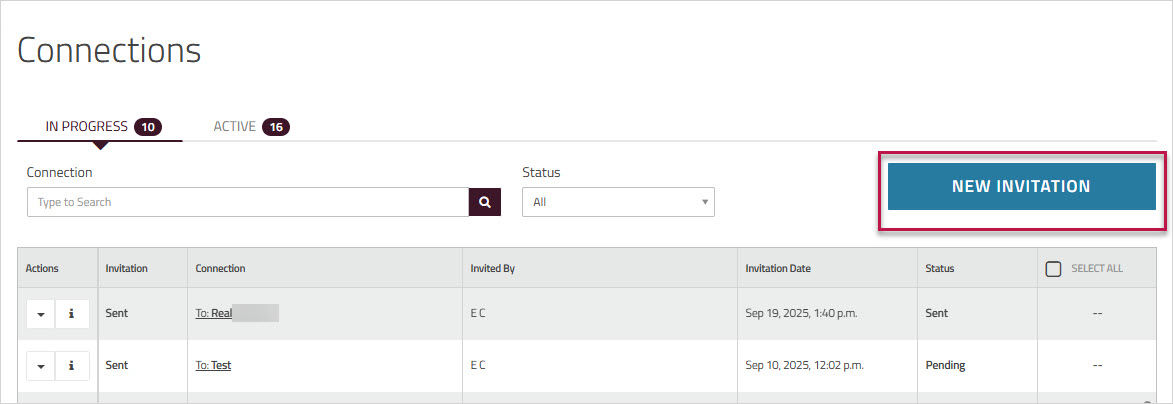
- On the page, click
- From the dropdown list, choose the template that you want to use. A preview of the selected email appears on the right side of the page.
- Click . Mandatory fields are indicated with *.

- Choose whether the invitee is an or a entity.
- As you enter invitee details, the email preview pane updates on the right side of the page.
- (Optional) In the section, you can enter additional notes. This note won’t be saved to your default email template and will only apply to the current invite.
- (Optional) To invite more payees, check the box beside . The form will reset, allowing you to send another invitation from the same page.
- Click to send the invitation.
- You will be redirected to the tab on the page. The invitation you just sent will appear in the grid with the status— .
Tip: You can filter the grid by to view connections with a specific status.